This post will give you tips on how to send media releases using the Connect release builder in Mediaportal. You may also like to download and save this Cheat Sheet for future reference.
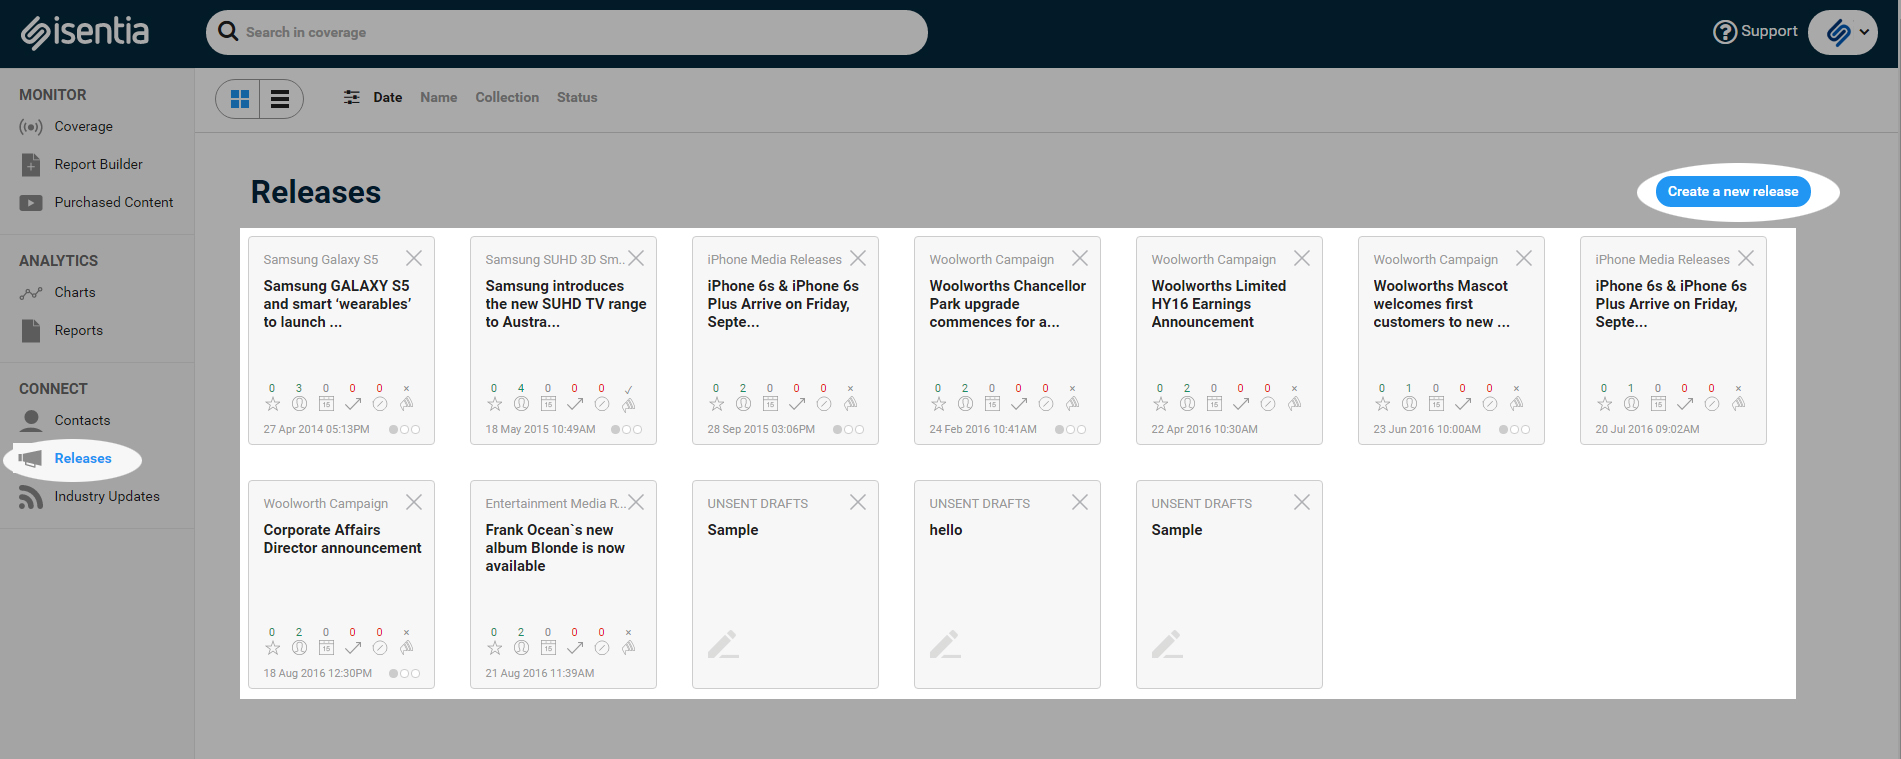
With the Connect release builder tool, you are able to create and send effective media releases. To begin, go to the ‘Releases’ page under Connect module. In this page, you are able to see your release drafts or the previously sent releases. Otherwise, you can click “Create a new release” button found in the upper right corner of the screen.
After clicking ‘Create a new release’ button, you will be redirected to the first step of the release builder tool; creating a content. This will be followed by selecting recipients and then finally set options & preview.
Step 1: Creating a content
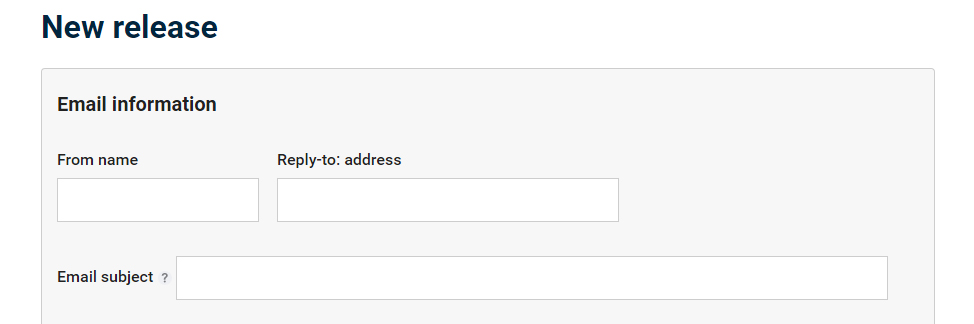
The ‘New Release’ page lets you create your media release by filling out the blank fields with necessary information. To begin, fill out the sender’s details, including the email address that recipients should reply to. You can then type in the email subject of your media release, which will appear as a subject line when release is received by recipients. You can use the title of your media release for your subject line.
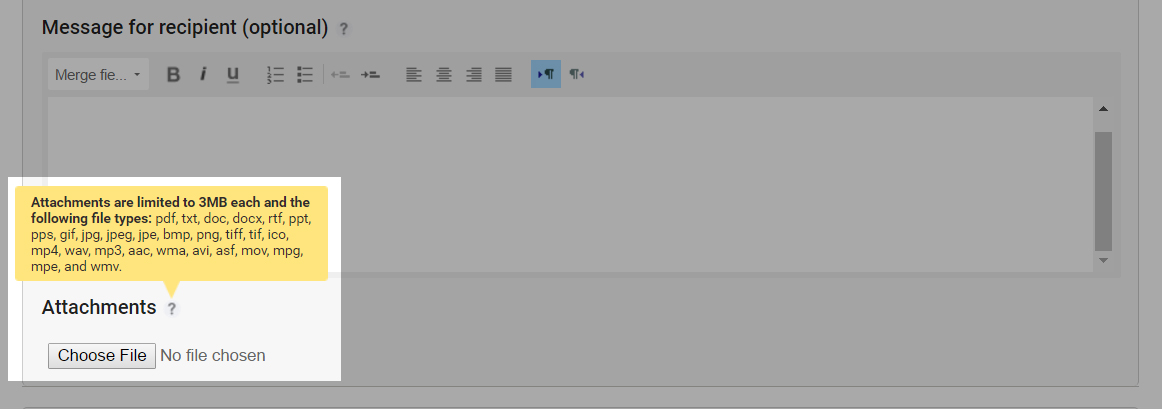
Adding a message to your media release is optional but it may be more engaging if you include a personalize message by using the merge fields with automatic rules that can add the first and last names of your recipients.
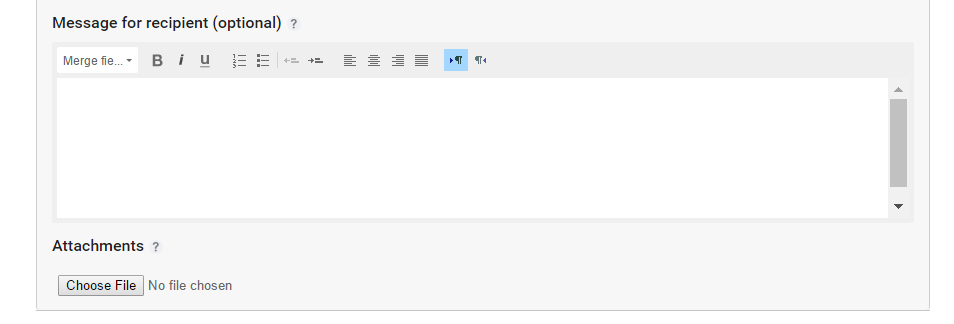
Below the optional message field is the attachment function that you can click if you wish to attach a relevant file to your media release. The attachment could be the media release itself stored in your computer. Hovering your mouse to the question mark icon will show you a reminder of the 3MB limit of attachment and the allowed file formats.
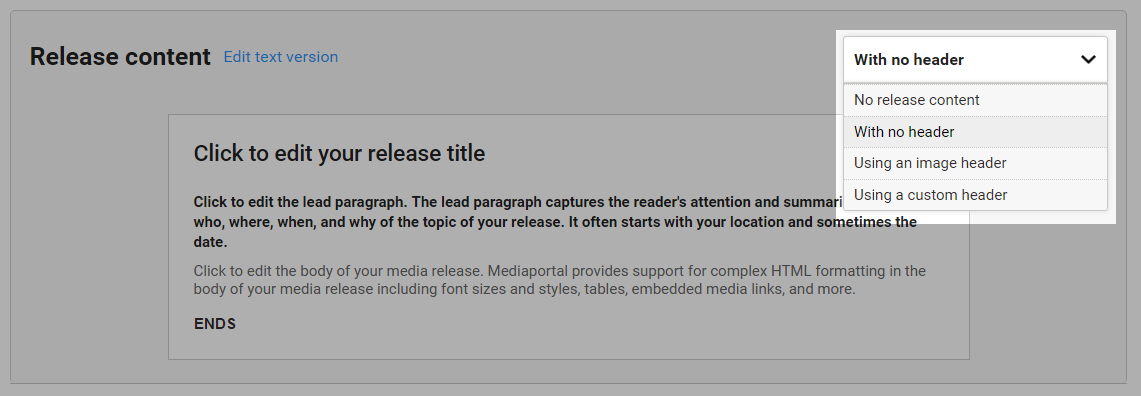
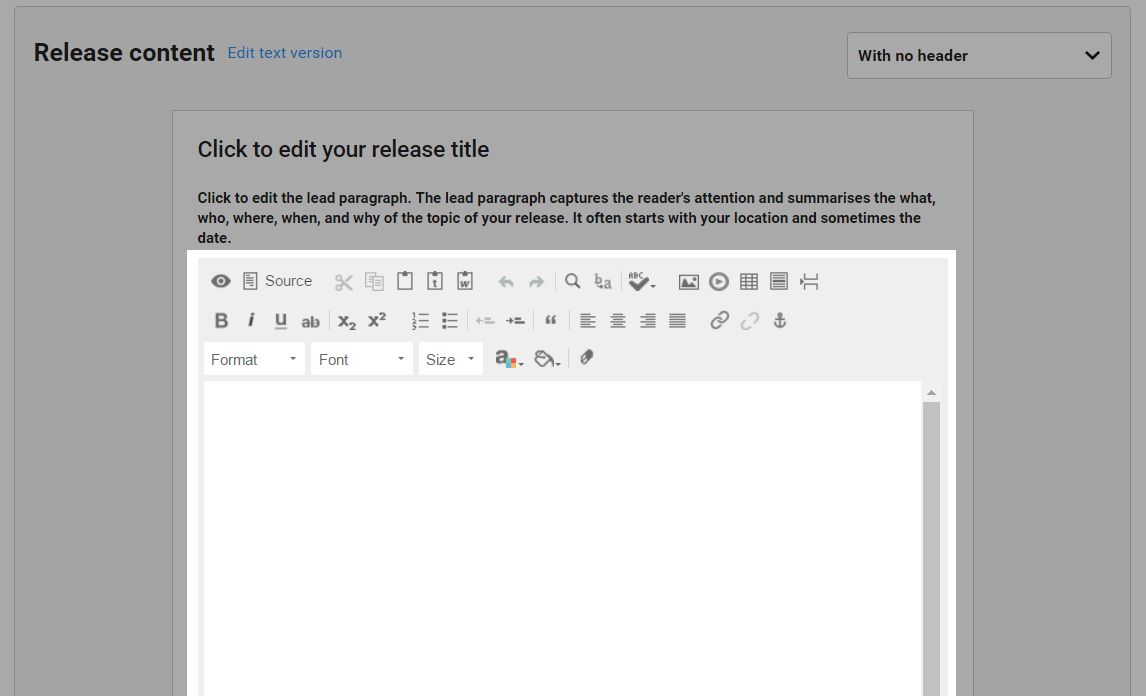
Next is the Release content area where you are able to create the content of your media release. You can choose whether you want to include a header for your release from the header dropdown menu on the upper right corner.
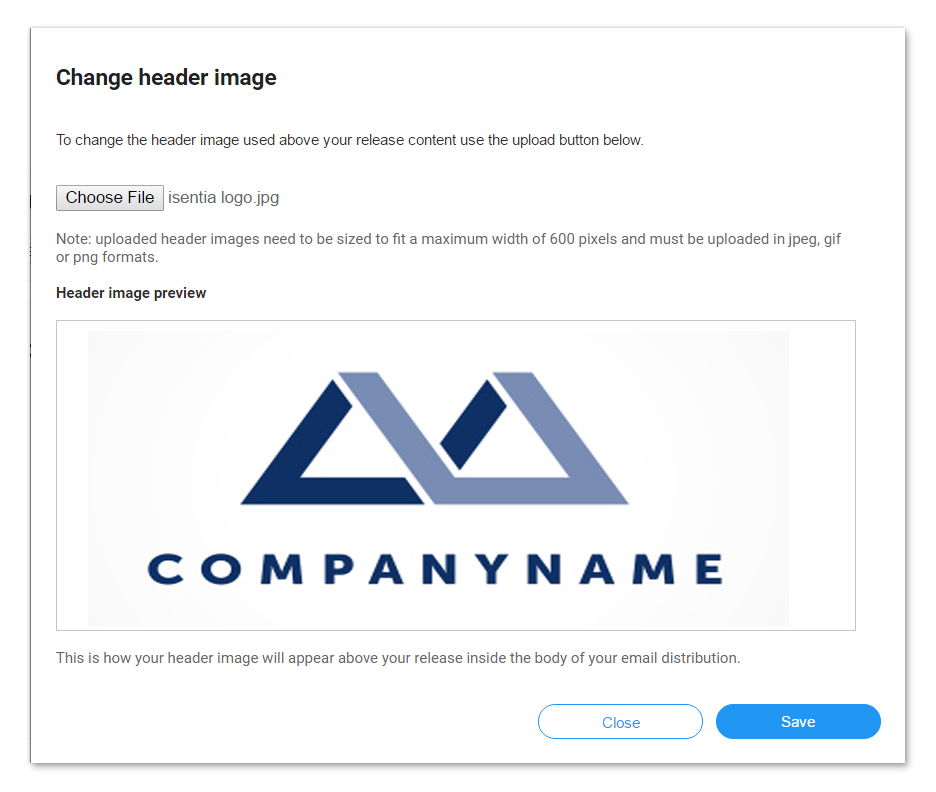
An uploaded image can be used as a header to make your media release more engaging. Your image should be sized to fit a maximum width of 600 pixels and must be uploaded in jpeg, gif or png formats.
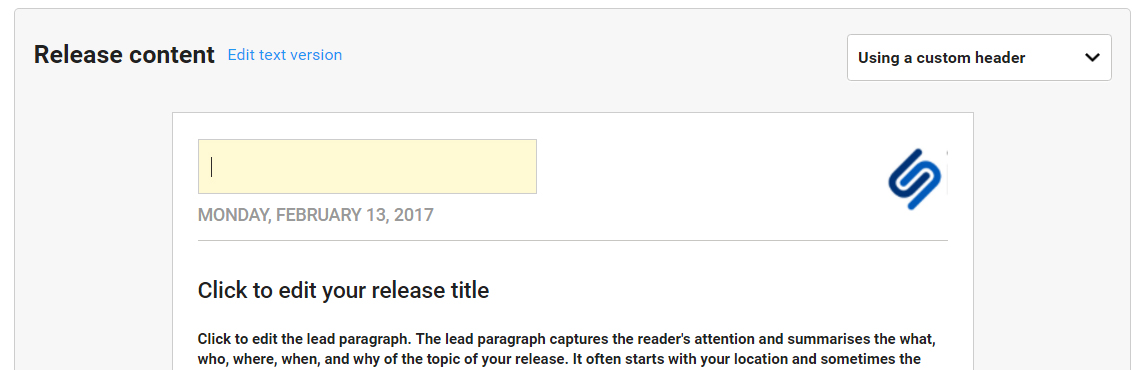
A ‘custom header’ could also be selected if you wish to use your organization’s logo. The ‘Media Release’ label in your header can be edited if you want to change it.
Alternatively, you can select the ‘No release content” from the header dropdown menu if you wish to have your media release sent as an email attachment using the attachment feature above.
In the Release content section, you can give your media release a title and the lead paragraph that may capture the reader’s attention. Your lead paragraph can be the gist of your entire content, summarizing the what, who, where, when and why.

The next part lets you edit the body of your media release with built-in rich-text formatting. Mediaportal provides support for complex HTML formatting, enabling you to change your font styles, include tables and embed media. Mediaportal will also send a plain text version of your media release that can be accessed from older mobiles. For more information on HTML and plain text formats, read this article.
If you have drafted your media release in a Microsoft Word file, you can use the ‘Word’ icon to copy-paste your content into the HTML media release builder. In this way, the formatting of your media release will be retained the same way as you formatted it in Microsoft Word.

To embed an image, click the ‘photo’ icon and a pop-up appears to let you paste the image URL that may come from an image-hosting site like Flickr or Photobucket.
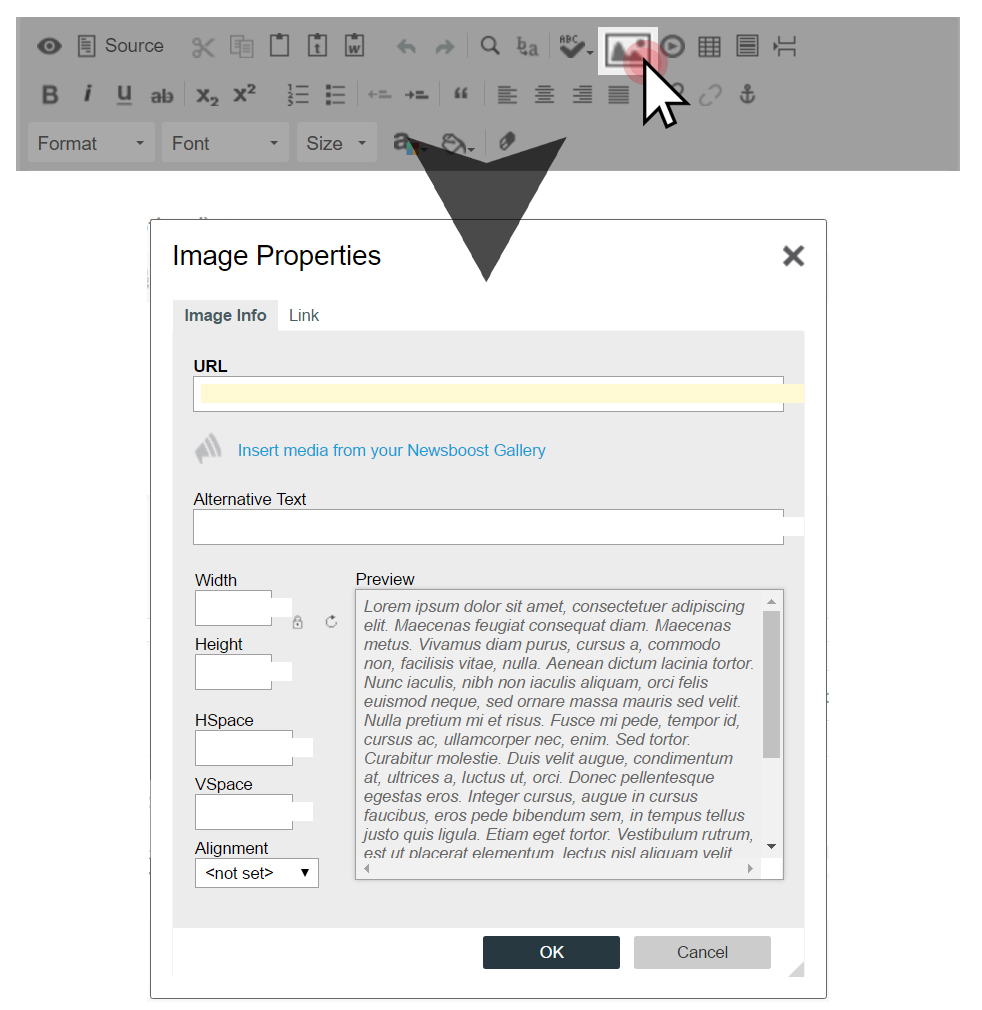
Adding an alternative text to the image can aid other recipients using devices in which images are disabled.

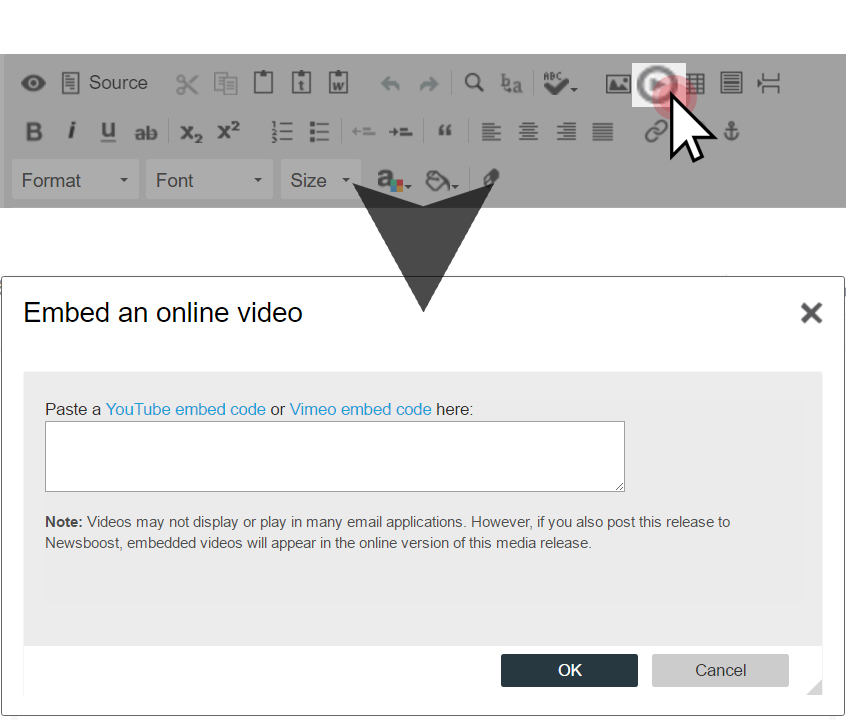
To embed a video, click the ‘Play’ icon in the toolbar and a pop-up appears to let you paste YouTube or Vimeo embed code. Videos may not display or play in many email applications. To learn more about tips on embedding videos to your media release, check out this post.
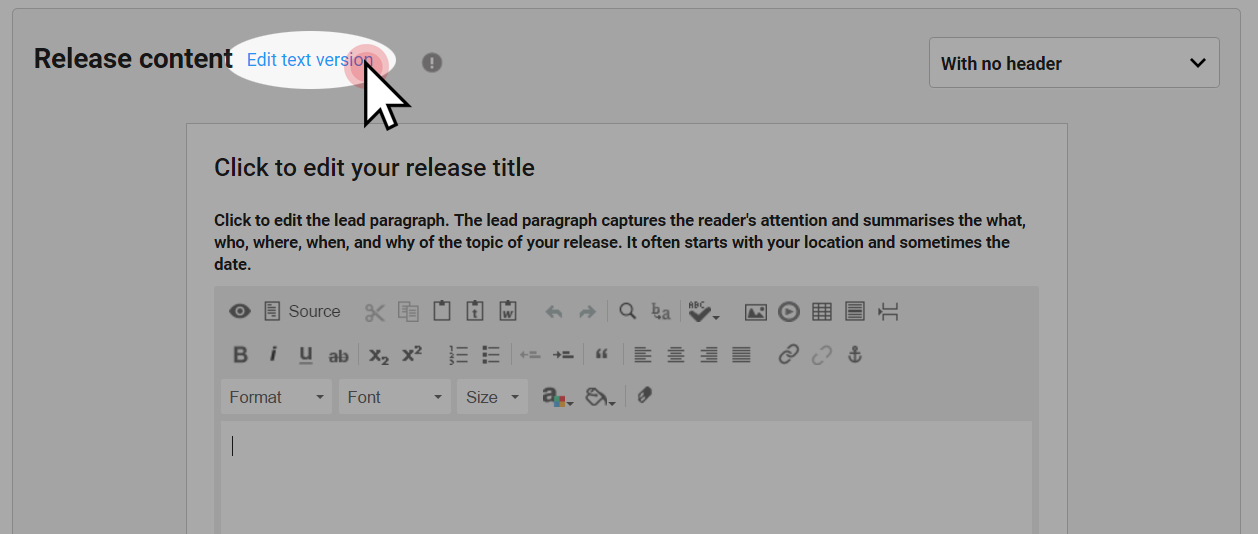
To edit the plain text version of your media release, just click “Edit text version” found in the top. A pop-up will appear to let you add alternative text for images or type in URLs where you have hyperlinks in your media release.
When you’re all set on how you want your media release to look like, you might want to click on ‘Send test email’ button below to take a second look via your email. If you’re already satisfied, you can already click the ‘Next step’ button.

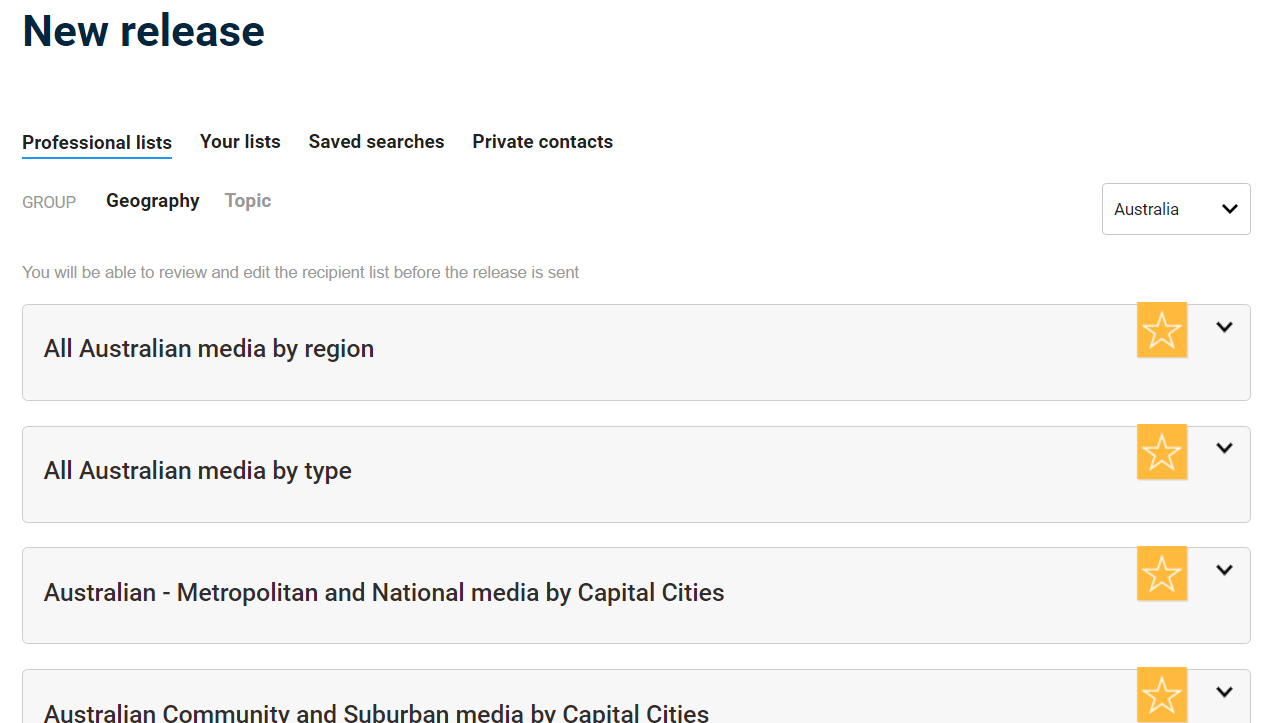
Step 2: Select recipients
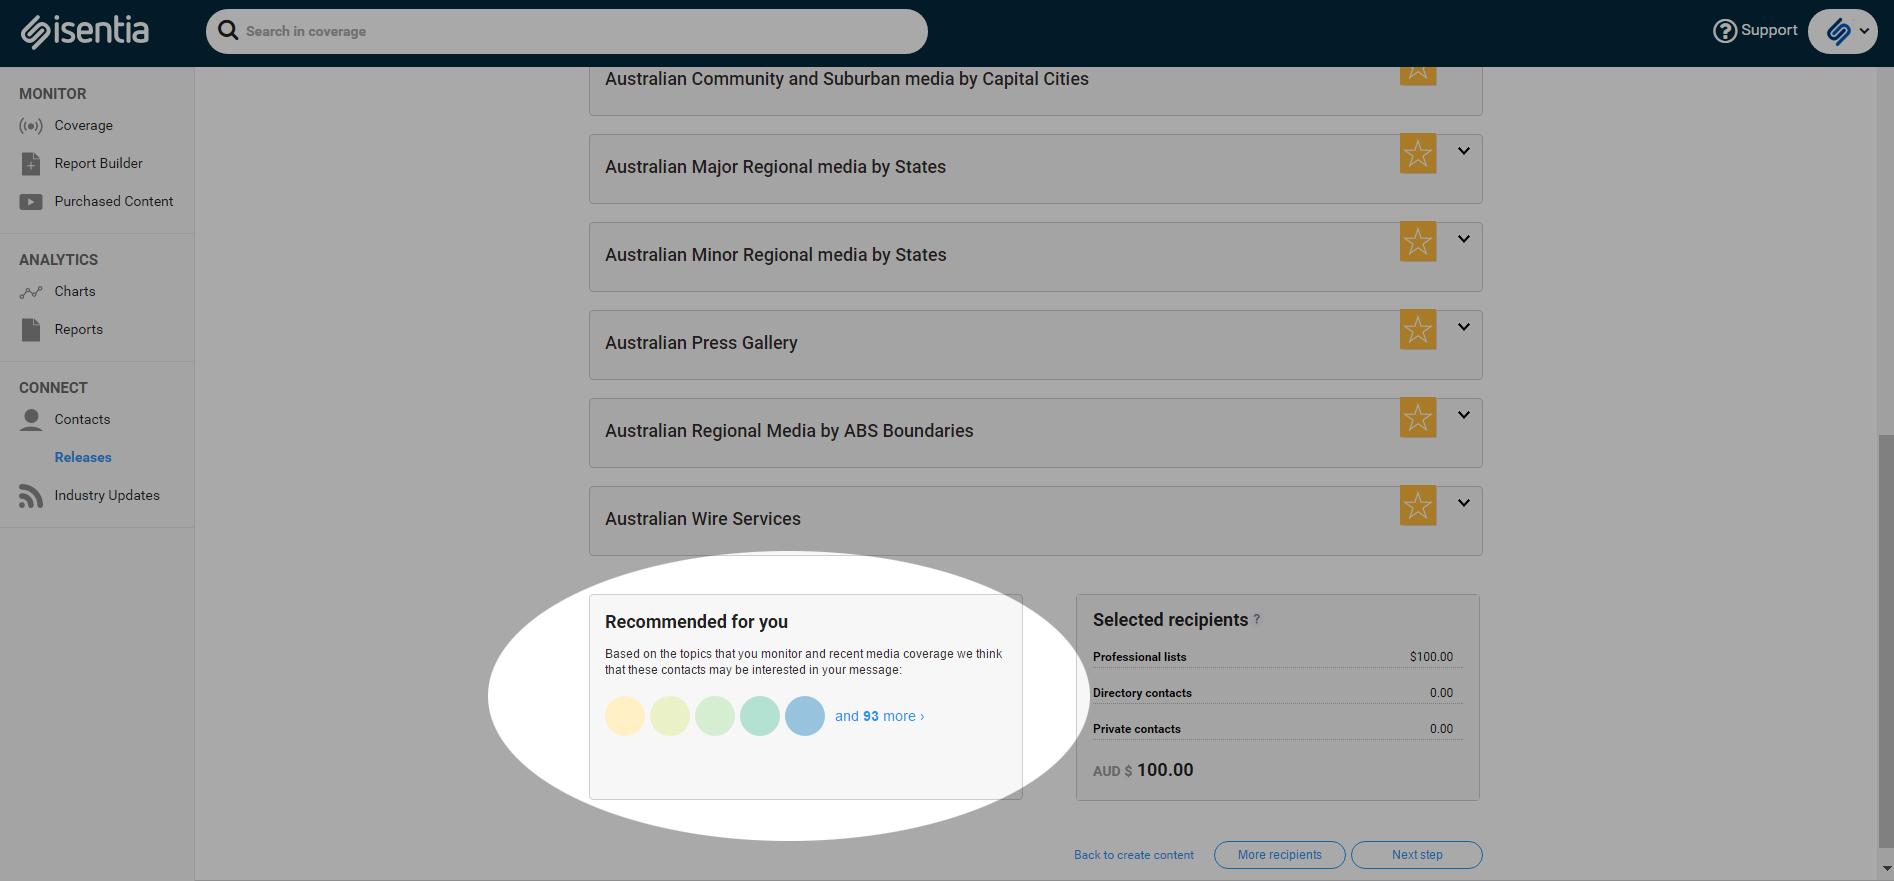
At this stage, you are able to select the recipients who will be receiving your media release. In this page, you can select the Recommended Contacts as your recipients. Click this link to learn more about Recommended Contacts.
You can also choose to send your media release to any combination of:
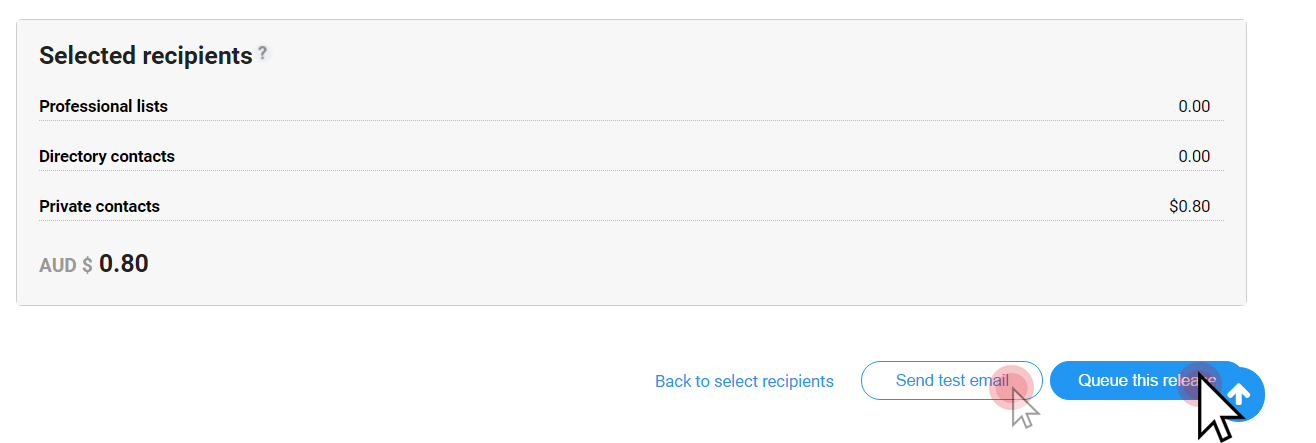
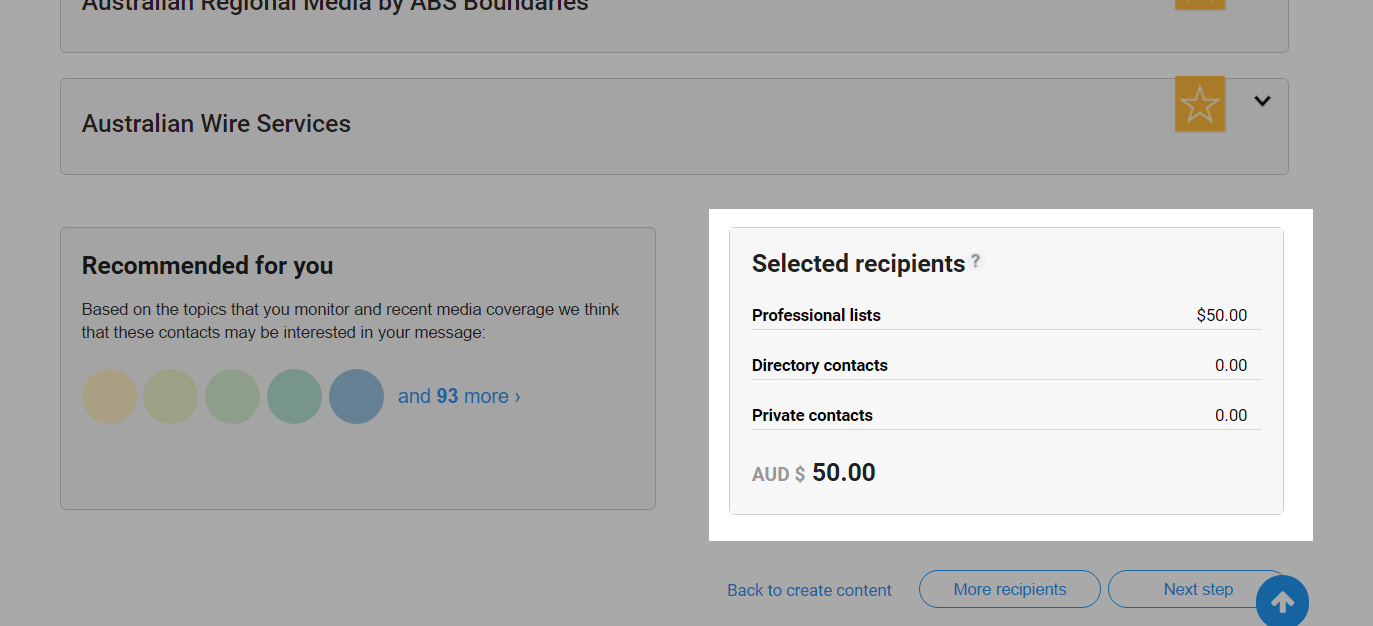
As you select the recipients by ticking the checkbox right across each list, the Distribution Estimate panel on the right automatically updates to help you keep track on how much it will cost you to send the media release to the selected recipients.
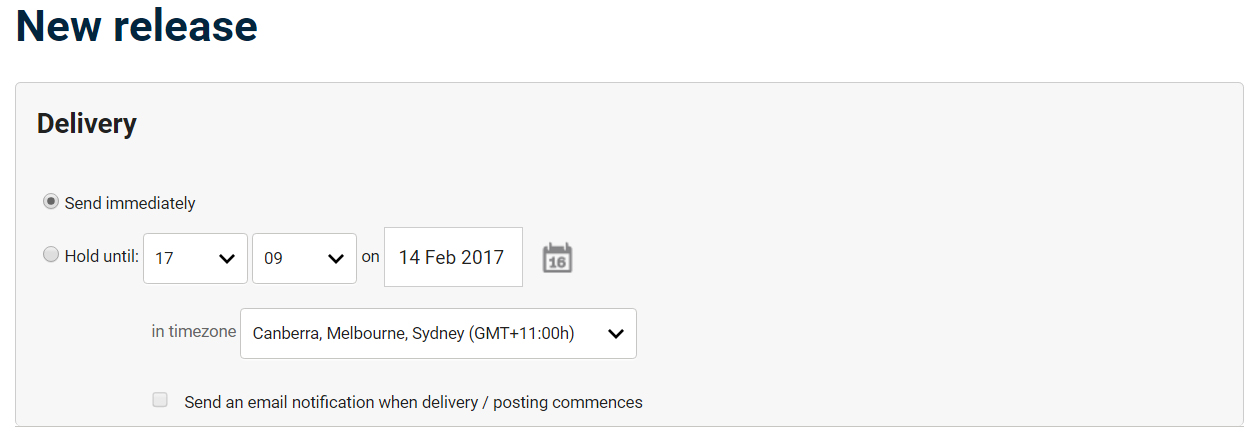
Step 3: Set Options & Preview
The last stage lets you decide on the scheduling of the delivery of your media release. You can choose to either send your media release immediately or hold it until future delivery.
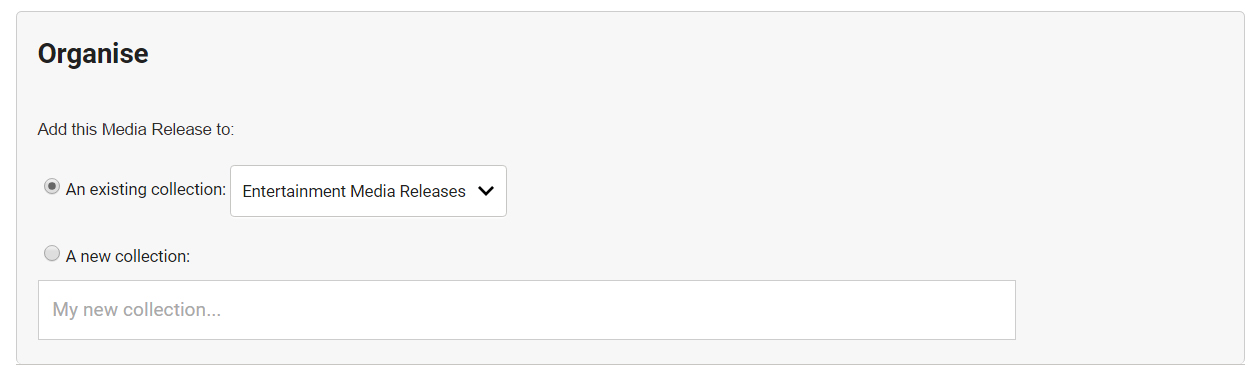
The next panel helps you keep your media release to organize it with a collection of previously created media release. At this stage, you can choose to create a new collection.
The Distribution Panel is also visible in the bottom of the page to help you keep track of the costing. Finally, you might want to send another test email to give your media release a final look. When you’re ready, you can click “queue this release” and your release will then be sent at the time you selected.