
There are two ways of maintaining contacts when performing search in the Connect Media Directory; Saved Searches and Your Lists. This post will guide you through the difference of these functions, and how to export data from the directory.
Saved Searches
You might want to remember the criteria you have set when performing search in the Contact Media Directory. The Saved Searches feature can help you remember or save your criteria, including your search results.
New contacts that are added to the database will be automatically added to your Saved Searches, provided that these new contacts match the criteria you have set. The Saved Searches can be used as target recipients when sending media releases.
How to: Saved Searches
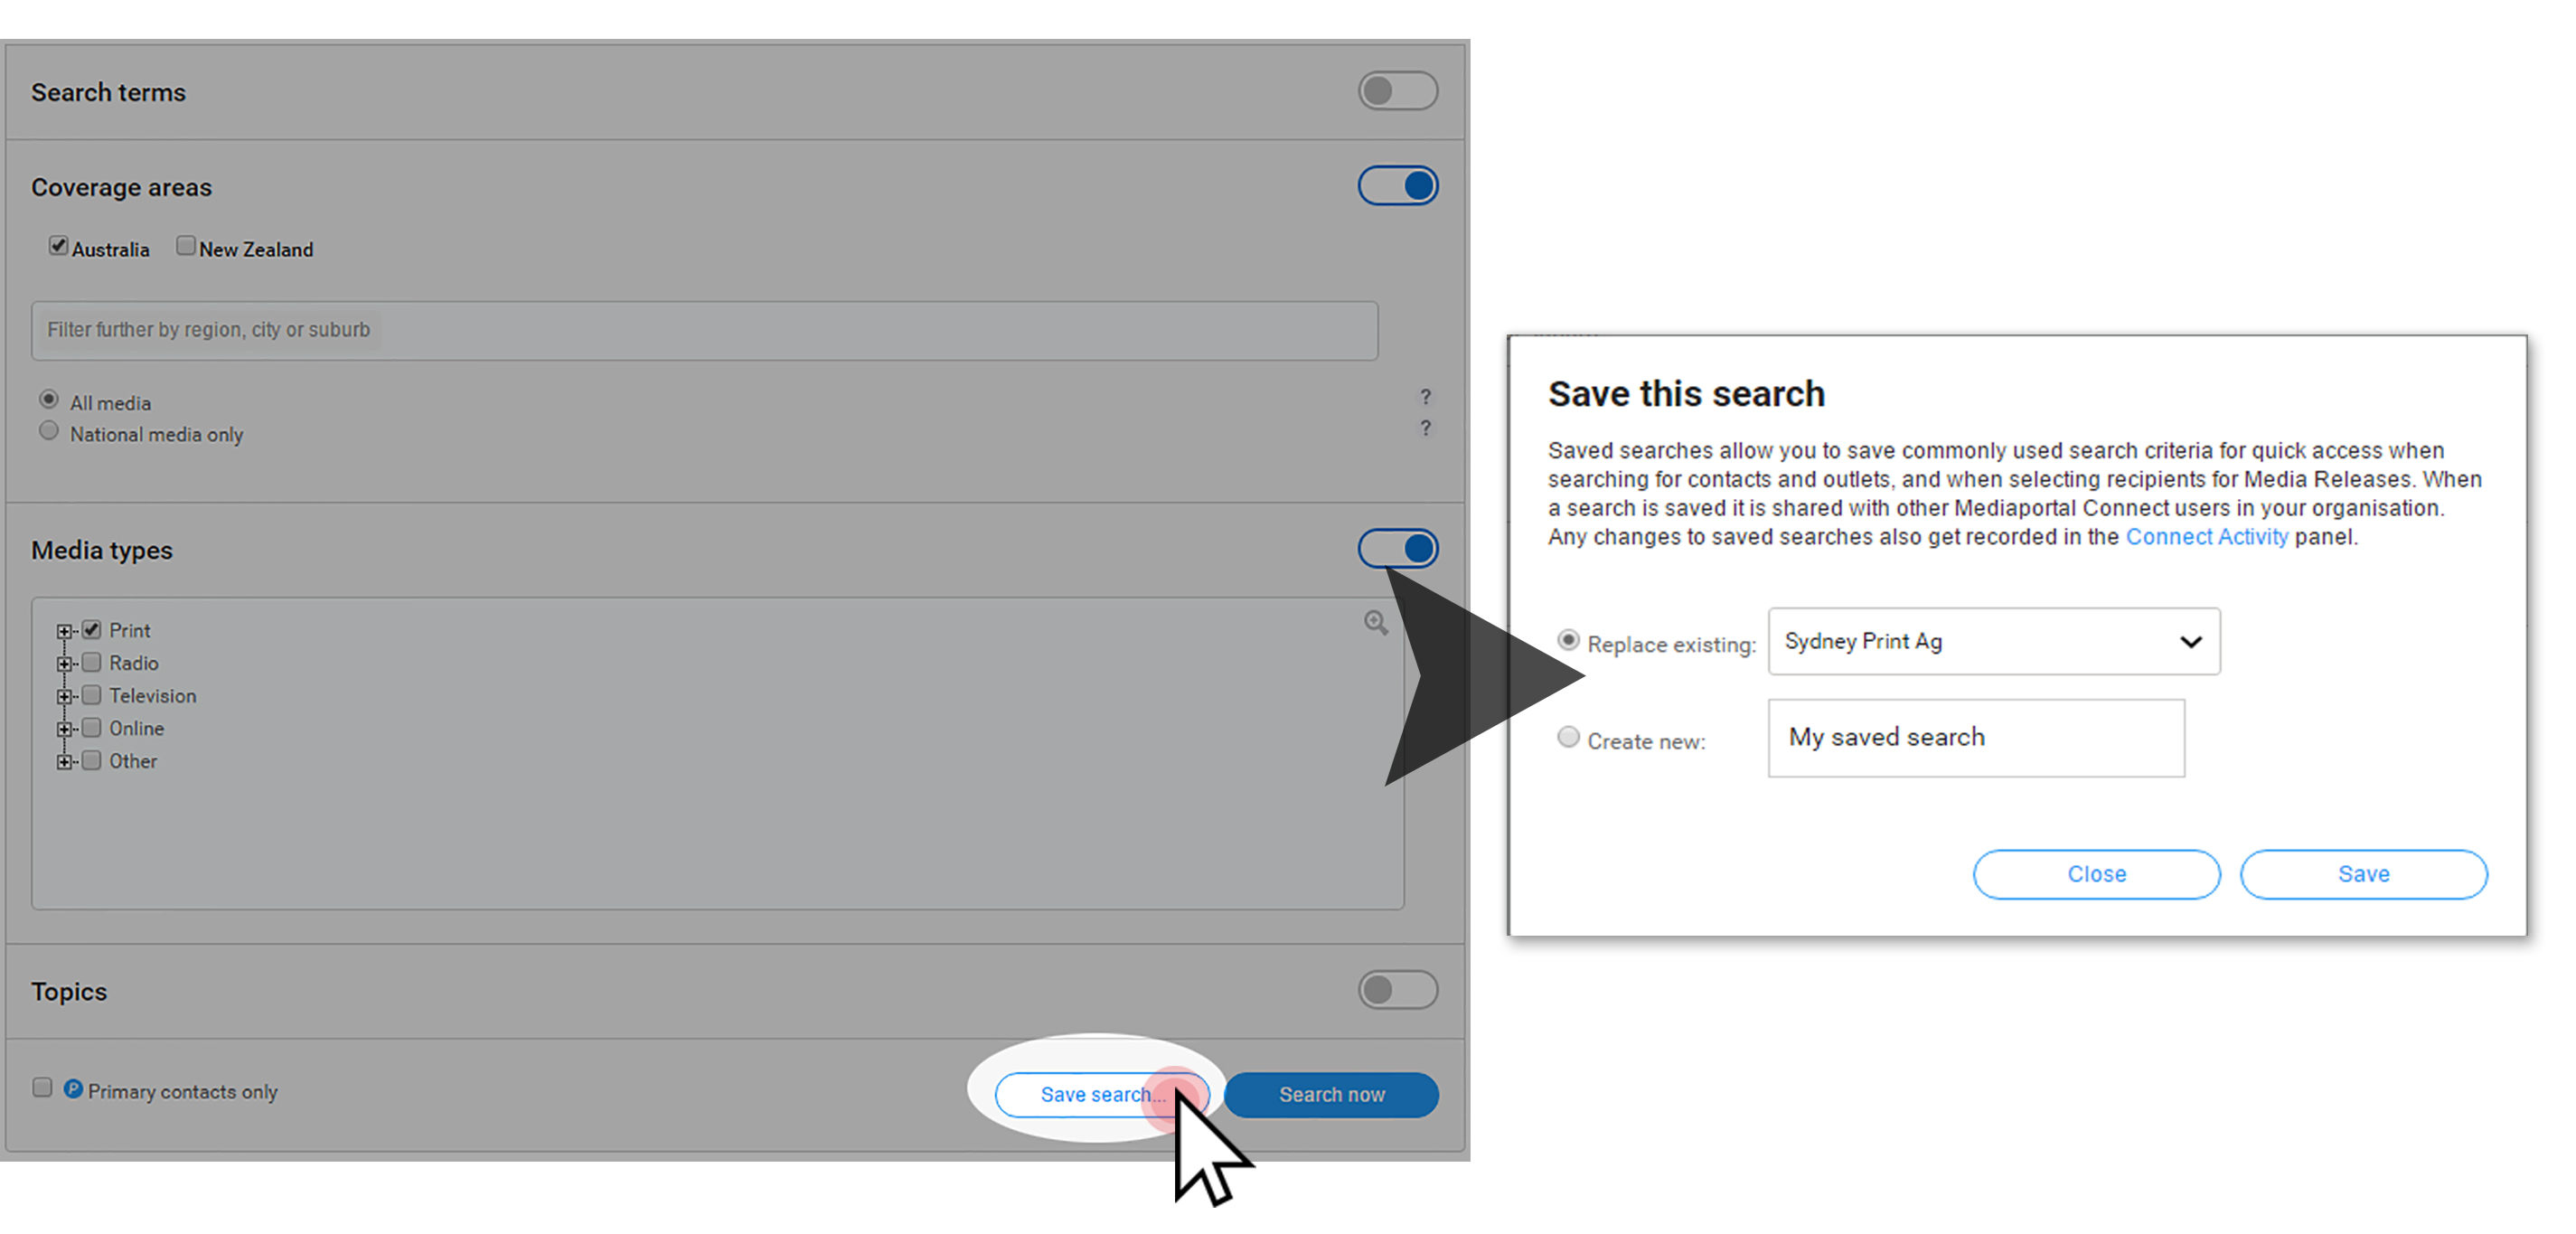
After adjusting the filters when performing search, you can click the ‘Save search’ button found in the lower area of the search field. You’ll then be asked whether you want to replace an existing saved search.
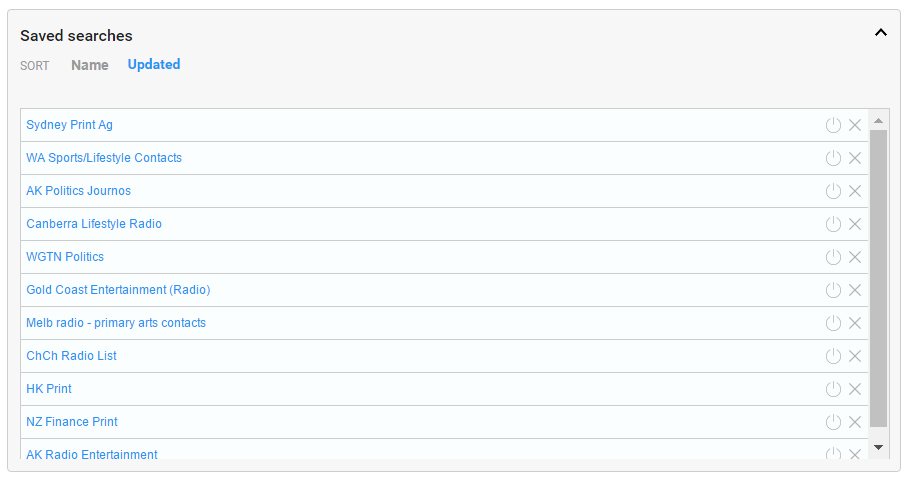
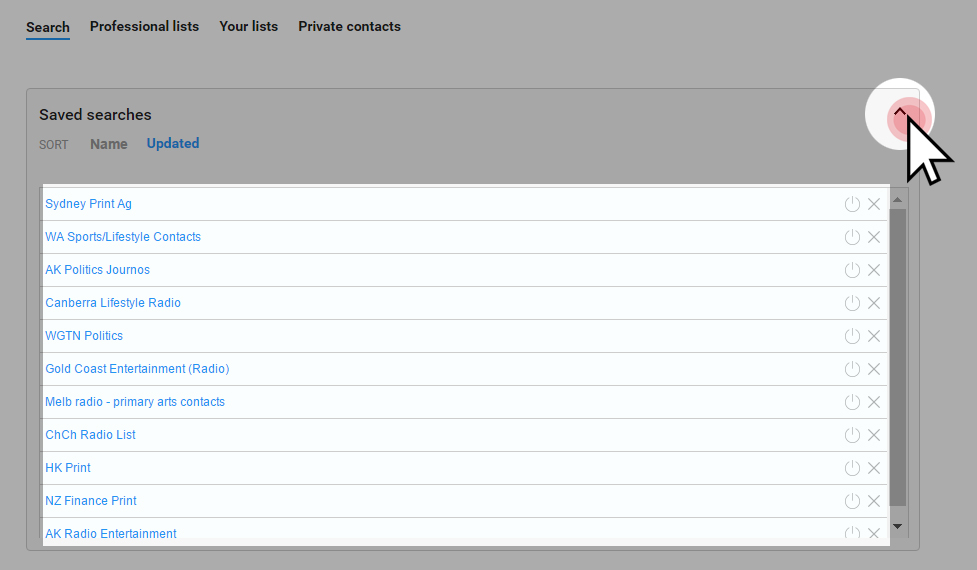
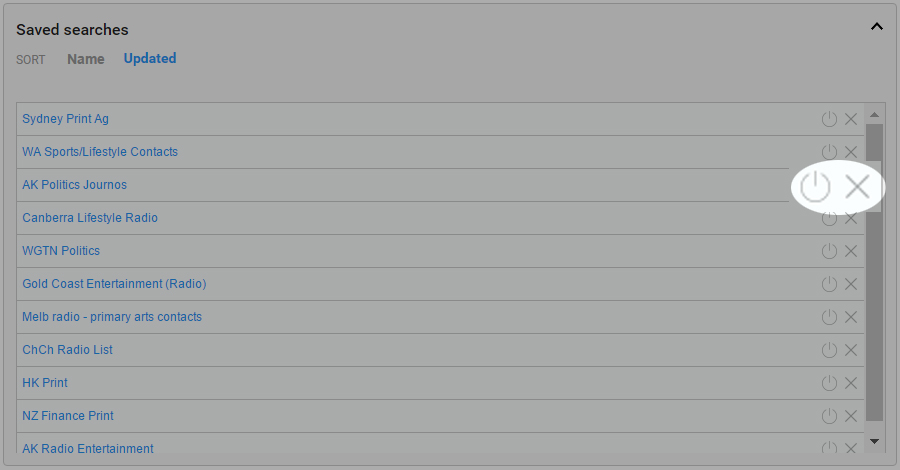
You can find your saved searches by clicking the expand or downward icon of the ‘Saved Searches’ panel found in the Search tab of Contacts page. You will be able to use these saved searches when finding the ideal recipients for your media release.
Aside from the sorting functions, you’ll notice two buttons right across every saved search item. The first one is the ‘Activate’ button that will automatically load the contacts underneath the page once clicked. Clicking the ‘X’ button will simply delete the saved search.
Your Lists
Another way of maintaining your contacts is by Your Lists, which is more customizable. This feature allows you to manually add contacts to one place that can only be managed by you. Unlike Saved Searches, newly added contacts that match your search criteria will not be automatically added to your list. Instead, you will be the one to add the contacts to a certain list. Your Lists, however, will be automatically updated when there are changes in contacts’ information, such as email addresses and phone numbers.
Your Lists will be visible to all other users within your organization. These lists can also be selected as target recipients when sending media releases.
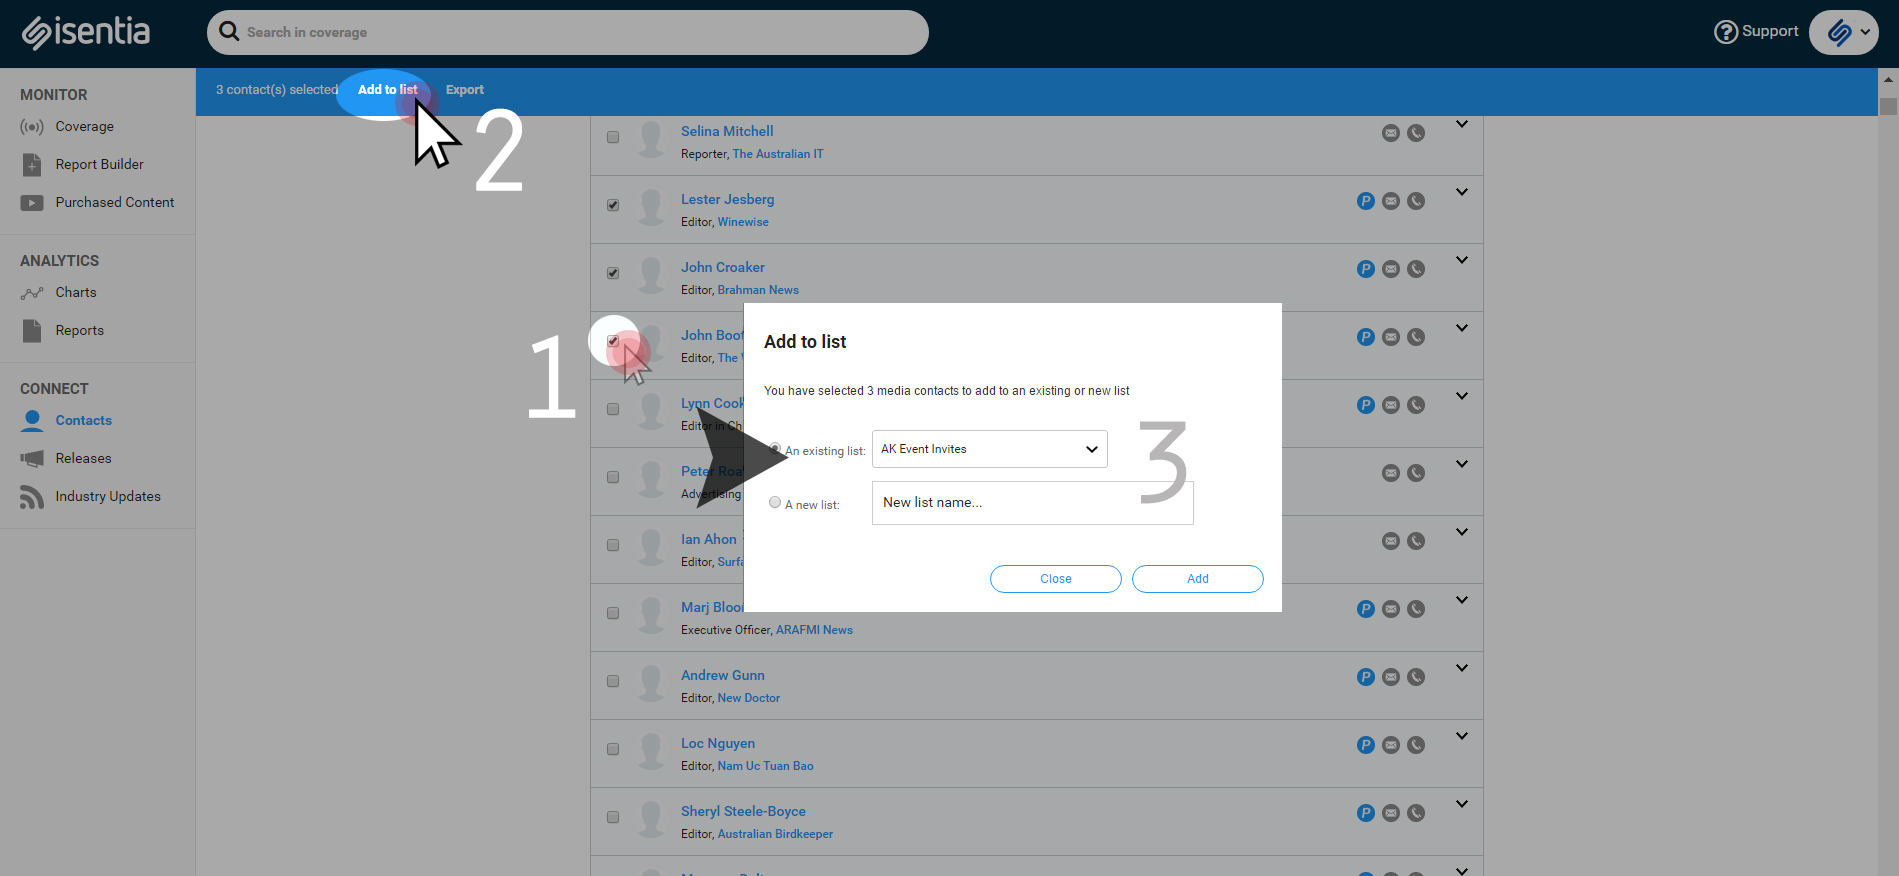
To begin adding contacts to a certain list, select all the contacts you wish to add from your search results. Ticking the box for each contact prompts the action bar on top of your screen to show ‘Add to list’ option. Upon clicking this, a pop-up appears to let you choose which list you want to add your contacts to. At this stage, you can also choose to create a new list using the contacts you have selected.
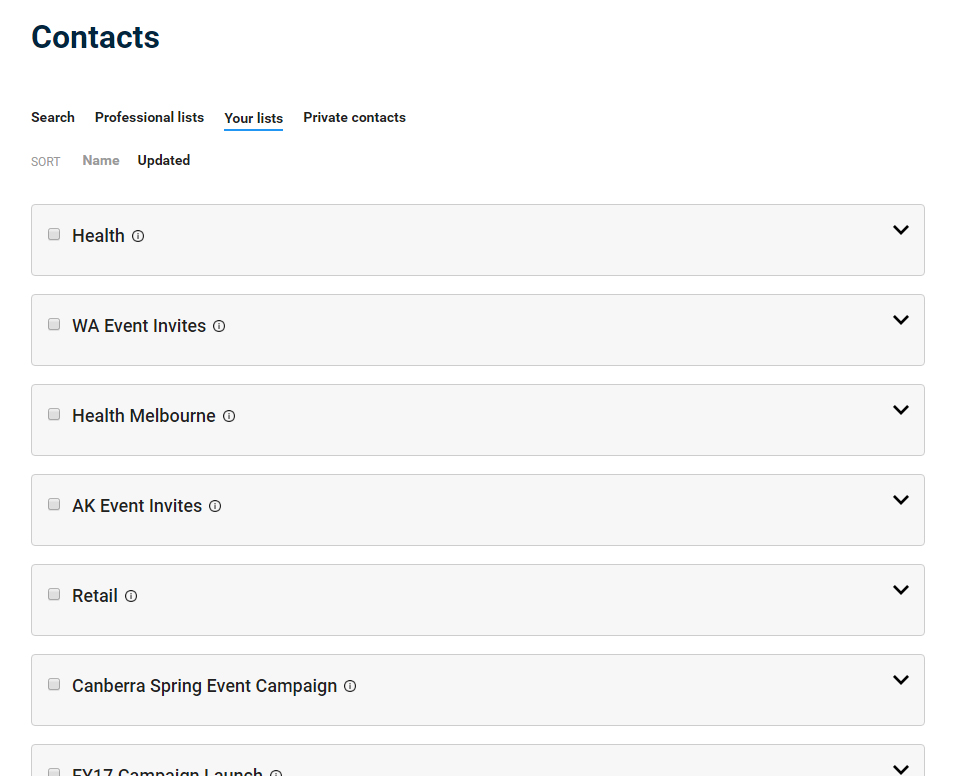
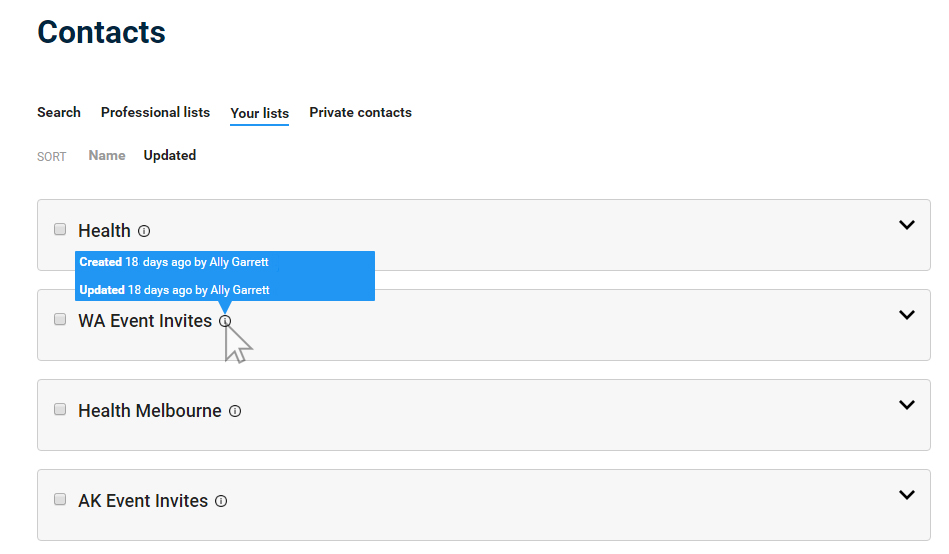
You can find Your Lists as the third tab in the Contacts page under Connect module. If you hover your mouse towards the ‘info’ icon right beside each list, you’ll see update details.
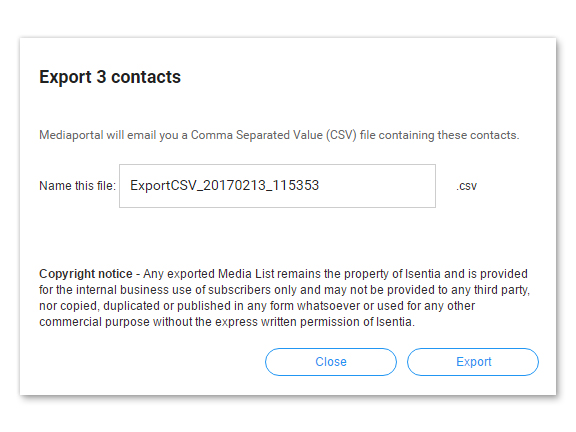
Exporting Contacts
The ‘Export’ option also appears in the blue Action Bar on top of your screen after selecting the contacts you want to export. By clicking ‘Export’, a pop-up appears allowing you to rename your CSV file which will be sent to your email address after clicking the Export button.