

Introducing Feeds, a brand new feature in Mediaportal allowing you to keep on top of an manage your most important topics in one view.
This article is a step by step guide for setting up Feeds on your Mediaportal. For a quick overview, you may like to use the Feeds Cheat Sheet.
Accessing Feeds
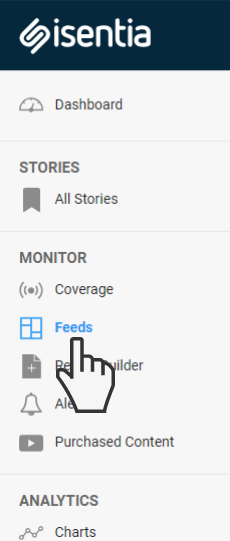
To access Feeds, go to the left navigation panel and click on the new module.
Here you can start creating your Feed colums. If you haven’t already created a Feed, you will be prompted to create your first one with a button in the center of the screen.

Setting up your first column
Once you have selected the “Create your first Feed” button, you can start choosing your search settings for the column. At a minimum you will need to add a name for your Feed and apply at least one search filter to create the column.

The filter options in this area are the same as the criteria options used for running coverage searches or building personal folders in Mediaportal. You can apply multiple filters to narrow your results with the ability to search by: keywords, briefs , sentiment, geographic regions, media outlets, or media contacts.
When you are happy with your filtering options, click “Apply filter” to add the new column.
Tracking multiple topics in one place
Feeds allows you to track multiple topics at once. Add up to four columns by clicking the “Add new column” button.

All coverage in your Mediaportal that matches the Feed criteria in the past 90 days can be accessed from the column. The most recent items will appear at the top, and older items will load as you scroll to the bottom of the column. When you reach the bottom of the column, you will see a blue loading bar before more media items become available.

As new items matching your Feed arrive in your portal, you will be notified with a blue “New mentions available” button. Clicking on this button will load the new content.

View the original of any item in your Feed by simply clicking on the item card. This will open the original in a new window.

Feeds supports content in its native form, allowing you to view images and play your YouTube or Instagram videos without leaving the page.

Manage and action your coverage
The column view is a great way to quickly and easily manage different issues at once. Items in your Feeds can be actioned individually using the checkbox or ellipses on an item card, or bulk actions can be taken for multiple items in your Feed using the ellipses at the top of the column.

Using the checkbox, you can add individual items to the report builder, a personal folder, or export them to excel by selecting the action in the blue banner that appears.

The ellipses on each item can be used to share coverage with a colleague or team member, send Feedback about the item to your account management team, or view the full item card for a more detailed view of the piece of coverage.

The “View full item” option allows you to see additional information such as item details, keyword tags, and the media type icon.

Action multiple items at once using the ellipses at the top of your Feed columns. This will allow you to export items to excel, add them to the report builder or add them to a personal folder. 
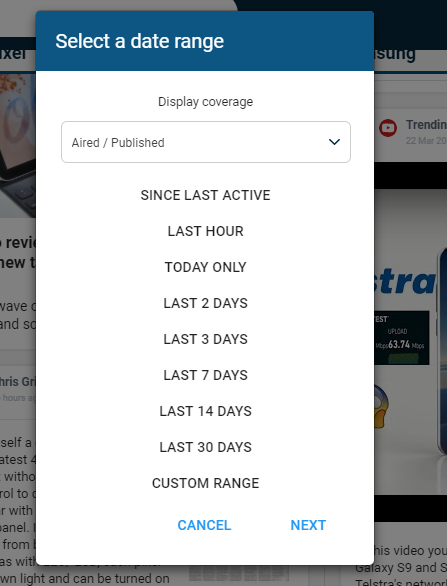
After selecting one of these options, you will be prompted to select the time period for the coverage you would like to action. For example, if I want to report on the coverage in my Google Pixel Feed that ran in the past week, I can select add to report, then choose “Last 7 days” from the date picker.
If sentiment is switched on for your login, media items in your Feed column will also include automated sentiment badges. If you believe the automated grading doesn’t represent the correct sentiment of an item, you can manually override the grading by clicking on the coloured badge and selecting a different sentiment.
